> For the complete documentation index, see [llms.txt](https://help.swarmia.com/llms.txt). Markdown versions of documentation pages are available by appending `.md` to page URLs; this page is available as [Markdown](https://help.swarmia.com/settings/integrations/issue-trackers/jira.md).
# Jira
Learn how to connect Jira to Swarmia.
Swarmia supports Jira Cloud, Jira Server, and Jira Data Center. You can connect Jira independently of your code hosting integrations.
Choose the installation method that matches your Jira setup:
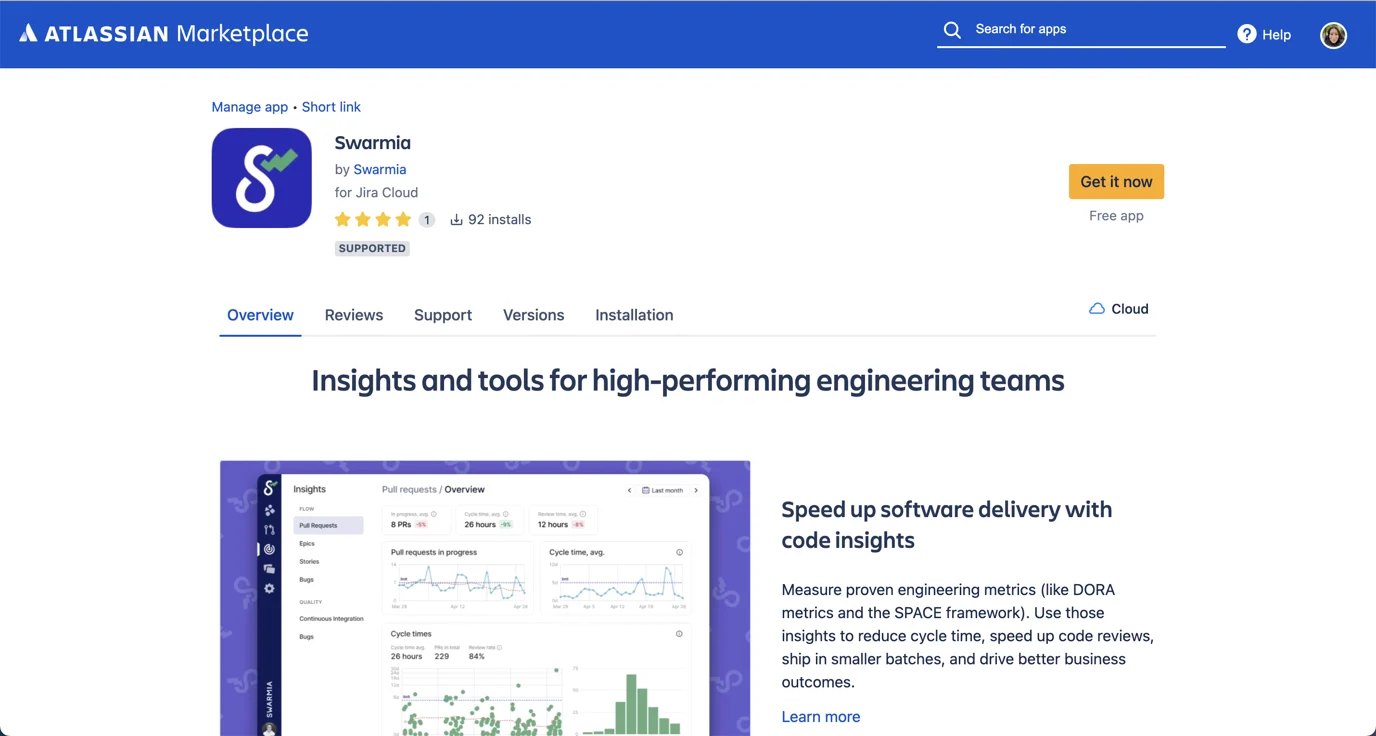
* **Jira Cloud:** follow the steps below to install Swarmia from the Atlassian Marketplace
* **Jira Cloud with limited project access:** use [API token setup](/settings/integrations/issue-trackers/jira/limiting-jira-project-access.md)
* **Jira Server or Jira Data Center:** use [on-premise setup](/settings/integrations/issue-trackers/jira/jira-server-and-jira-data-center.md)
## Jira Cloud
* Start by ensuring you have Jira admin permissions
* Navigate to [issue tracker settings in Swarmia](https://app.swarmia.com/settings/issue-trackers) and follow the installation guide
* Once installed, click the **Configure** link in the pop-up
In app's configuration, you need to click **Finish installation**, after this, the page should show "Swarmia is connected to your Jira site".
{% hint style="danger" %}
**Note:** Some browser security features might block you from finishing the installation. If you are logged in but still see a warning to log in, please check that ad-blockers or tracking protection systems (eg. on Firefox or Safari) are not blocking a request to swarmia.com.
{% endhint %}
You can also access the configuration page by navigating to **Jira settings > Apps > Manage apps.**
{% hint style="success" %}
Once the Jira integration is installed, proceed to [Jira configuration](/settings/integrations/issue-trackers/jira/jira-setup.md).
{% endhint %}
### Updating Jira URL
Let us know at **** if you update your Atlassian (Jira) URL. We’ll need to update it on our end and re-sync your Jira integration. This ensures continuous data flow and prevents issues caused by outdated URL references.
There may be a brief delay before the updated Jira data appears in Swarmia. To minimize this, we recommend notifying us in advance so we can coordinate the update with you.
## Multiple Jira instances
If your organization runs more than one Jira instance, you can connect them all to the same Swarmia organization. Swarmia combines the data, so every team shows up in the same views no matter which Jira they use.
To add a Jira Cloud instance, go to [issue tracker settings](https://app.swarmia.com/settings/issue-trackers) and repeat the installation steps above.
To connect more than one Jira Server or Jira Data Center instance, reach out to your customer success manager or email .
---
# Agent Instructions
This documentation is published with GitBook. GitBook is the documentation platform designed so that both humans and AI agents can read, navigate, and reason over technical content effectively. Learn more at gitbook.com.
## Querying This Documentation
If you need additional information that is not directly available in this page, you can query the documentation by asking a question.
Perform an HTTP GET request on the following URL with the `ask` and `goal` query parameters:
```
GET https://help.swarmia.com/settings/integrations/issue-trackers/jira.md?ask=&goal=
```
`ask` is the immediate question: it should be specific, self-contained, and written in natural language.
`goal` is what the user is ultimately trying to achieve, the reason they need the answer. Sharing it helps GitBook give you a better, more relevant answer. A goal is most helpful when it describes the outcome the user wants rather than restating the question. For example, with `ask=how do I create an API token`, a goal like `automate deployments from our CI pipeline` lets GitBook tailor the answer to that use case.
The response will contain a direct answer to the question and relevant excerpts and sources from the documentation.
Use this mechanism when the answer is not explicitly present in the current page, you need clarification or additional context, or you want to retrieve related documentation sections.